Quilt Archive

Sunday, December 24, 2017

Christmas Ornaments Mini Quilts

Merry Christmas Blog Friends,

Here is a cute and quick mini quilt project that I completed last week.  It is a new addition to my holiday decor.  

Each mini quilt measures 6" x 11 1/2" and features a button for the ornament topper, metallic ribbon for the hook and embroidered pine branches.   Each ornament was fused and then appliqued.  A hanging sleeve and traditional binding were added as finishing touches.  Pattern by Patch-Abilities.


Our families festivities start tomorrow.  I'll have some of the finished Christmas projects to show you for next week's post.

Have a blessed Christmas with family and friends.  Till next time...

Warm Hands

Merry Christmas Blog Friends!

Here is a quick and cute little hand sewing project I just completed.  Six lovely little felt mitten ornaments.  Pattern by Rachel's of Greenfield.


A cute mini-quilt project is up next....

Wednesday, December 20, 2017

A Plethora of Pillows!

Hello Blog Friends!

I'm happy to report that I have finished my project list for Christmas!  I've done some hand and machine sewing.  I'll share what I have made for myself, and just after Christmas, I'll begin to share the things I've made for my family.

I've gone into pillow production!  I sorted through my fabric stash of left-overs from other projects, and found a panel, flannels and a Wysocki-esque print.  All these became pillows:

 I love this print.  So Wysocki-esque!
 I even got a pair of pillow cases from this fabric!
These are done in flannel.  These fabrics are leftovers from a previous quilt kit.  The kit was generous in the fabrics provided.  I got these 5 pillows from them!

More next time...

Monday, October 30, 2017

HAPPY HALLOWEEN!

Hello Blog Followers!

The happiest of Halloweens from me to you!  


I'm still working on my scrapping and hand sewing projects.  Till next time...

Sunday, October 22, 2017

Camp Grandma 2017

Hello Blog Friends,

I've been doing some scrapbooking this past week.  This project was begun at a scrapping retreat I attended in September.  I finished it up this past week.

This past summer, my three grandkids (Zach, Hailey and Bridget)  from West Bend visited for a few days.  We visited the zoo, went to a baseball game, and had fun at mini-golf and video games at a local sports park.  I have made each grandchild a mini book as a keepsake.  These will be one of their gifts for Christmas this year.  

The format is an accordian book.  It consists of a front and back cover and connected pages in between.  When you "read it" and turn the pages to the right, it is a continuous book.


Front cover:

 Inside first two pages:  


Inside second two pages:

Back cover:


Inside third two pages:


I love how it turned out.  It was an ambitious project...remember, I made not only one, but three.  More scrapbooking projects next post.  Till then...

Monday, October 16, 2017

Just Call Me "The Bag Lady"

Hello Blog Friends,

Well, I've been busy these past couple of weeks, working on some smaller projects.  I did some rearranging of fabrics, kits, etc. when I started using my new sewing cabinet.  I was able to clear some space in my storage cabinets when I transferred some things to the drawers of the cabinet.  In doing so, I found some bag kits that I actually forgot that I had!  (Like this doesn't just happen to everyone, right?).  I decided to make them instead of burying them in the stack again.  All three were made from purchased kits.

This first one was purchased from Connecting Threads (online).  It was fairly simple to make.  A confident beginner could make this without too much trouble.  I like both the design and the fabrics.  It is made with a lining, a zipped pocket, an open pocket and box corners.  The outer bag is quilted with an open meander.  A pleat on each side and a flange add some design details.  I added a button to each side just above the pleat as an added detail.


This one was also purchased from Connecting Threads.  It is made using Soft and Stable and fusible heavyweight interfacing.  It also has a lining, open pockets and box corners.  It has a zipper closure and used a zipper panel, something I had not ever used before.  This bag is definitely for the experienced, intermediate skill level.  It is my least favorite bag.


This one is the last one completed, and my favorite.  I purchased it from a shop vending at a quilt show about five years ago.  The pattern is "Bethany's Bag" by Terri Staats of Sweet Treasures.  I like the fabrics and the construction details.  There is an outer pocket on both sides, and inner zipper pocket and an open pocket on both sides of the lining.  The outer floral panel is quilted in an open meander.  The lining bottom is set in the lining, and the bag is closed with a traditional binding on the top.  This is also for the intermediate skill level.  


So, now I'm done with bags for awhile.  However, it is time for the sewing machine to go in for its annual checkup, which is one year overdue.  So, I'm switching gears for the next few weeks and will be doing some hand sewing and some scrapbooking.  I'll check in with you soon with a progress report!  Till next time...

Tuesday, October 3, 2017

Some Fishy Business

Hello Blog Friends,

Here is a quick project to share with you.  

I found his as a kit at a local quilt shop, Keep Me In Stitches in Appleton.  It was quick and easy to make, so easy, if fact, that I've made a couple more from other fabrics.  This one will be a gift for my grandson Conner, who loves to fish and likes to decorate his room with hunting and fishing items.  


I'm becoming a bag lady again.  Details l next time...

Monday, September 25, 2017

New Sewing Cabinet

Hello Blog Friends!

I have a new sewing cabinet...lovingly custom made for me by my husband Denis.  It has been three years in the making, and has been through several redesigns along the way.  It is a full 6 ft long, which gives a tremendous amount of working surface.  I took possession of it yesterday, and here it is, installed in my craft room:


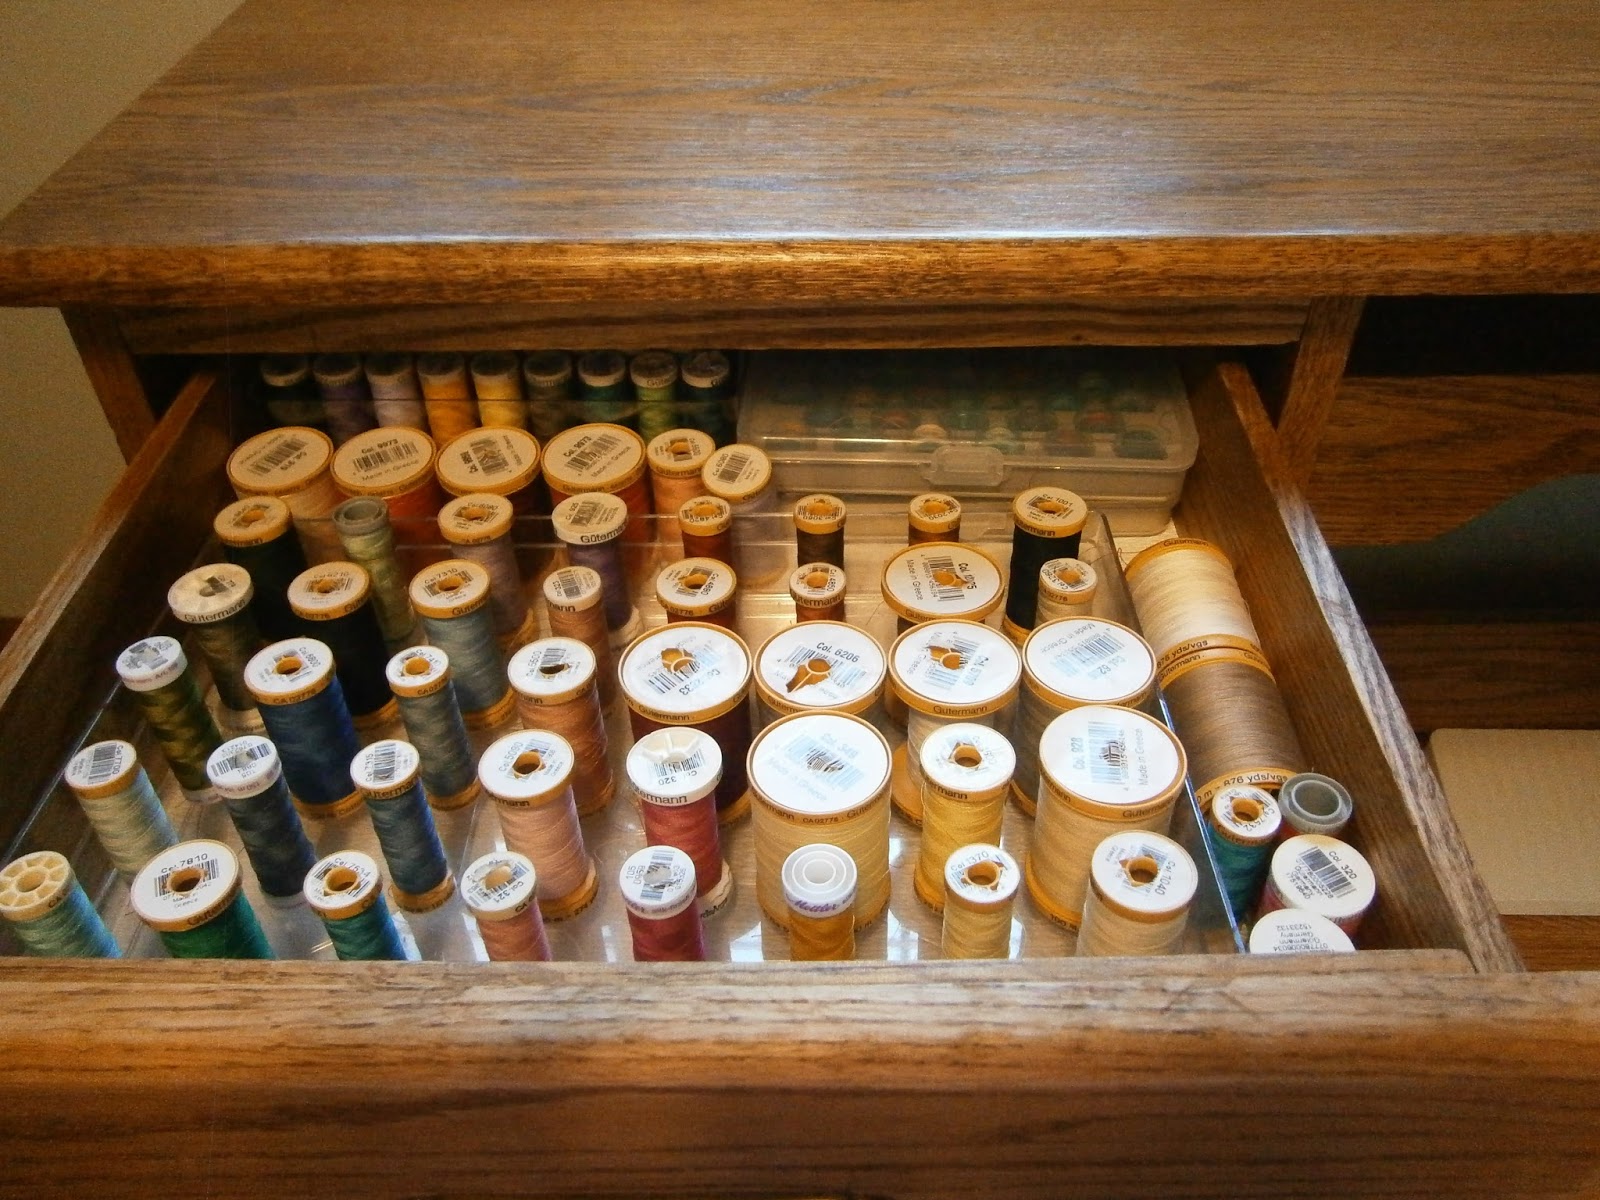
I love the two sets of drawers on either side of the wide middle opening.  Now I can have my threads and tools close at hand while sewing, and not stashed in a cabinet on the other side of the room.  The drawers were custom sized to fit needs.


Denis is still working on a few finishing details...a full 6 ft back that will lift up to make more table space while quilting, the plug that fills the top where the machine currently sits  (I plan to use this surface as a scrapping workspace when not sewing), and a shallow drawer to fill in the open space just under the the top.  These items can be fitted in/on when completed.  I'm planning to use the small, shallow drawer to hold my various and sundry smaller and odd-shaped rulers.  It will be perfect for that!

What was I sewing on before the new cabinet?  I was using this cabinet, retrofitted for my new Viking.  Before this machine, I was using a hand-me-down machine from my mother (a Viking from the late 60's).  This cabinet was custom fit for that machine.  It served both of us well, but began to deteriorate several years ago, hence the need for a replacement.  Farewell, old friend...


Quite a difference, yes??   Thank you so much for my dear husband for making this for me.  It is truly a labor of love and I love him for doing it!

Until next time.


Sunday, September 24, 2017

Pillowcases, Pillowcases Reprise No. 2

Hello Blog Friends,

More pillowcases to share with you:


These are very cool flamingo pillowcases, to be used on our upcoming trip to Florida in February.  Love the pink stripe accent fabric...reminds me of flamingo legs!


Here is a cute winter penguin print, it will be a Christmas gift for one of my granddaughters.


Here is a new one for me, just because I liked the main fabric.  The white is a tone on tone print.

Enjoy.

Next time...some Fishy Business....

Thursday, September 21, 2017

Pillowcases, Pillowcases! Reprise...

Hello Blog Friends,

Well, I decided to clean up some of the smaller projects in my to-do list for this month, starting with this pair of pillowcases.  

These are for me, just because I just fell in love with the main fabric!  The red and black floral motifs on the white really appealed to me (and we all know how much I like those three colors together...remember Red & White & Black All Over from earlier this summer?).  I found this fabric at Royce Quilting in West Bend.  A lovely little shop...I always find something there that I like.


Till next week...

Wednesday, September 13, 2017

WPT Quilt Expo 2017

September 9, 2017
Alliant Energy Center
Madison, Wisconsin

Hello Blog Friends,

I've been working on some smaller projects and will share those with you next post.   This past weekend, I visited the WPT Quilt Expo in Madison.  Here are some of my favorites:
 Abstract Autumn
 Chasin' Rainbows.  I love the unusual edge.
Chasin' Rainbows Detail 
Hourglass 
Victorian Ladies.  These blocks are all hand embroidered. 
 Vintage Farm Girl.  Totally Cute!
 A Glimpse Through the Lattice - Cattails.  

Lattice detail.  The squares (center of lattice) were fused in place.


Til next time...

Tuesday, September 5, 2017

Eclipse on the Wall

Hello Blog Friends!

This week, I'm continuing with the Solar Eclipse theme.  Although I don't usually do scrapbooking projects for the wall (mostly I do scrapbooks), I felt this event was worthy of the effort.

These photographs were all taken by me, on location in Grand Island, Nebraska, with my Canon EOS Rebel T5 SLR Camera, 300mm zoom lens and solar filter for phases.  Several of the phases are a little blurry...the wind really picked up that afternoon in the final phases and there was quite a bit of camera shake.  All in all, though...I think it turned out pretty good.
  

Enjoy.

On deck...I haven't decided yet.  Stay tuned next week.  Till then...

Sunday, August 27, 2017

Solar Eclipse

Hello Blog Friends!

No crafting this week, as I was in Nebraska for the Solar Eclipse.  

1515.8..............total miles
$704.33............hotels, meals, gas
2:34 of totality...Priceless


This photograph of the Diamond Ring was taken with my Canon EOS Rebel T5.  The memories are unforgettable.

I'll be back with more crafting next week.

Till then....

Wednesday, August 23, 2017

Mesh Beach Bag

Hello Blog Friends!

I'm going to Florida!  My daughter Kerri and husband Doug are celebrating their 10th anniversary on September 12.  They are commemorating this milestone by a renewal of vows ceremony on Cocoa Beach.  Of course Mama has to be there, so off we go again!  

We are staying at a hotel right on the beach, so what would be more fitting than a tropical-themed mesh beach bag?  You'll remember that I made a similar bag for my daughter Kim's birthday in March.  On this one, however, I made my own handles (with fusible fleece inside), instead of purchased belting.  I think they will be easier on the shoulder when toting them along the beach.


I love the fabrics and I love the emoji button decoration.  It was perfect for this project!

More sewing projects coming up next week.  Till then...

Monday, August 7, 2017

Take It All Tote Bag

Hello Blog Friends,

Here is my latest creation, the Take It All Tote Bag.  This was a kit from Connecting Threads.  It was easy and fun to make.  This bag uses Soft and Stable to help it keep it's shape.  There is a minimal amount of quilting on it, and the only binding area is the opening where the wooden handles are.  The bag is fully lined with a pocket.


This one is my donation to the door prize drawing at our upcoming Crivitz scrapbooking weekend next month.  Those of you who follow me get the sneak peek!  I plan to make another one for myself.  

On to the next project.  What will it be?  Tune in next week to find out!

Monday, July 31, 2017

Black and White and Red Allover

Hello Friends,

I ended the previous post with a riddle for you...

What is red and white and black all over?  My next project, of course, aptly named Red and White and Black All Over.

While looking through my stash of fat quarters for Prismatic Rainbow, I found that I had enough in a red and white and black colorway using the Switchback pattern.  Here is the pattern by Purple Pineapple Studio.


Instead of rows of the same print, I mixed the prints up into a kind of wonky checkerboard.  Here is the result.  

I also added a narrow white and red print inner border, as well as a wider white outer border.  The binding is the same red fabric as the back.  I chose to quilt the center section in a free motion all over meander pattern.  This quilt will remain in my own collection also.

I will take both the the club meeting on August 5.  Here is another look of two different interpretations of the same pattern:


I guess it's on to the next project...but what will it be?  Tune in next post to find out!

Monday, July 24, 2017

Prickly Pear Scrapbooking Pages

Hello Blog Friends,

Last Thursday was our regular monthly scrapbooking night.  We made three 2-page layouts from Close To My Heart's Prickly Pear collection.  These are cute summer pages with a little cactus theme.  What do you think?


A Riddle for YOU:  What is Red and White and Black all-over?  Tune in for next week's post to find out!!